LeGO Corbusier
This project appeared to be an amalgamation of two dreams.
One of my professional dreams has always been to visit the Le Corbusier pavilion, which I adore and consider a masterpiece and a standard of modularity. Back when I first learned about the building, I was living far away and didn’t have the opportunity to visit it, as it is located in Switzerland. Time passed, and now I live in Tyrol, Austria, which is very close to Zurich, making it likely I can visit this year.
The second part of the project is a desire to contribute to “leg godt”—or as we all know it, by its famous name, LEGO. I believe this company is unique, as it is more than just bricks. It partners with all sorts of industries and provides opportunities for many groups of people to create, learn, and develop.
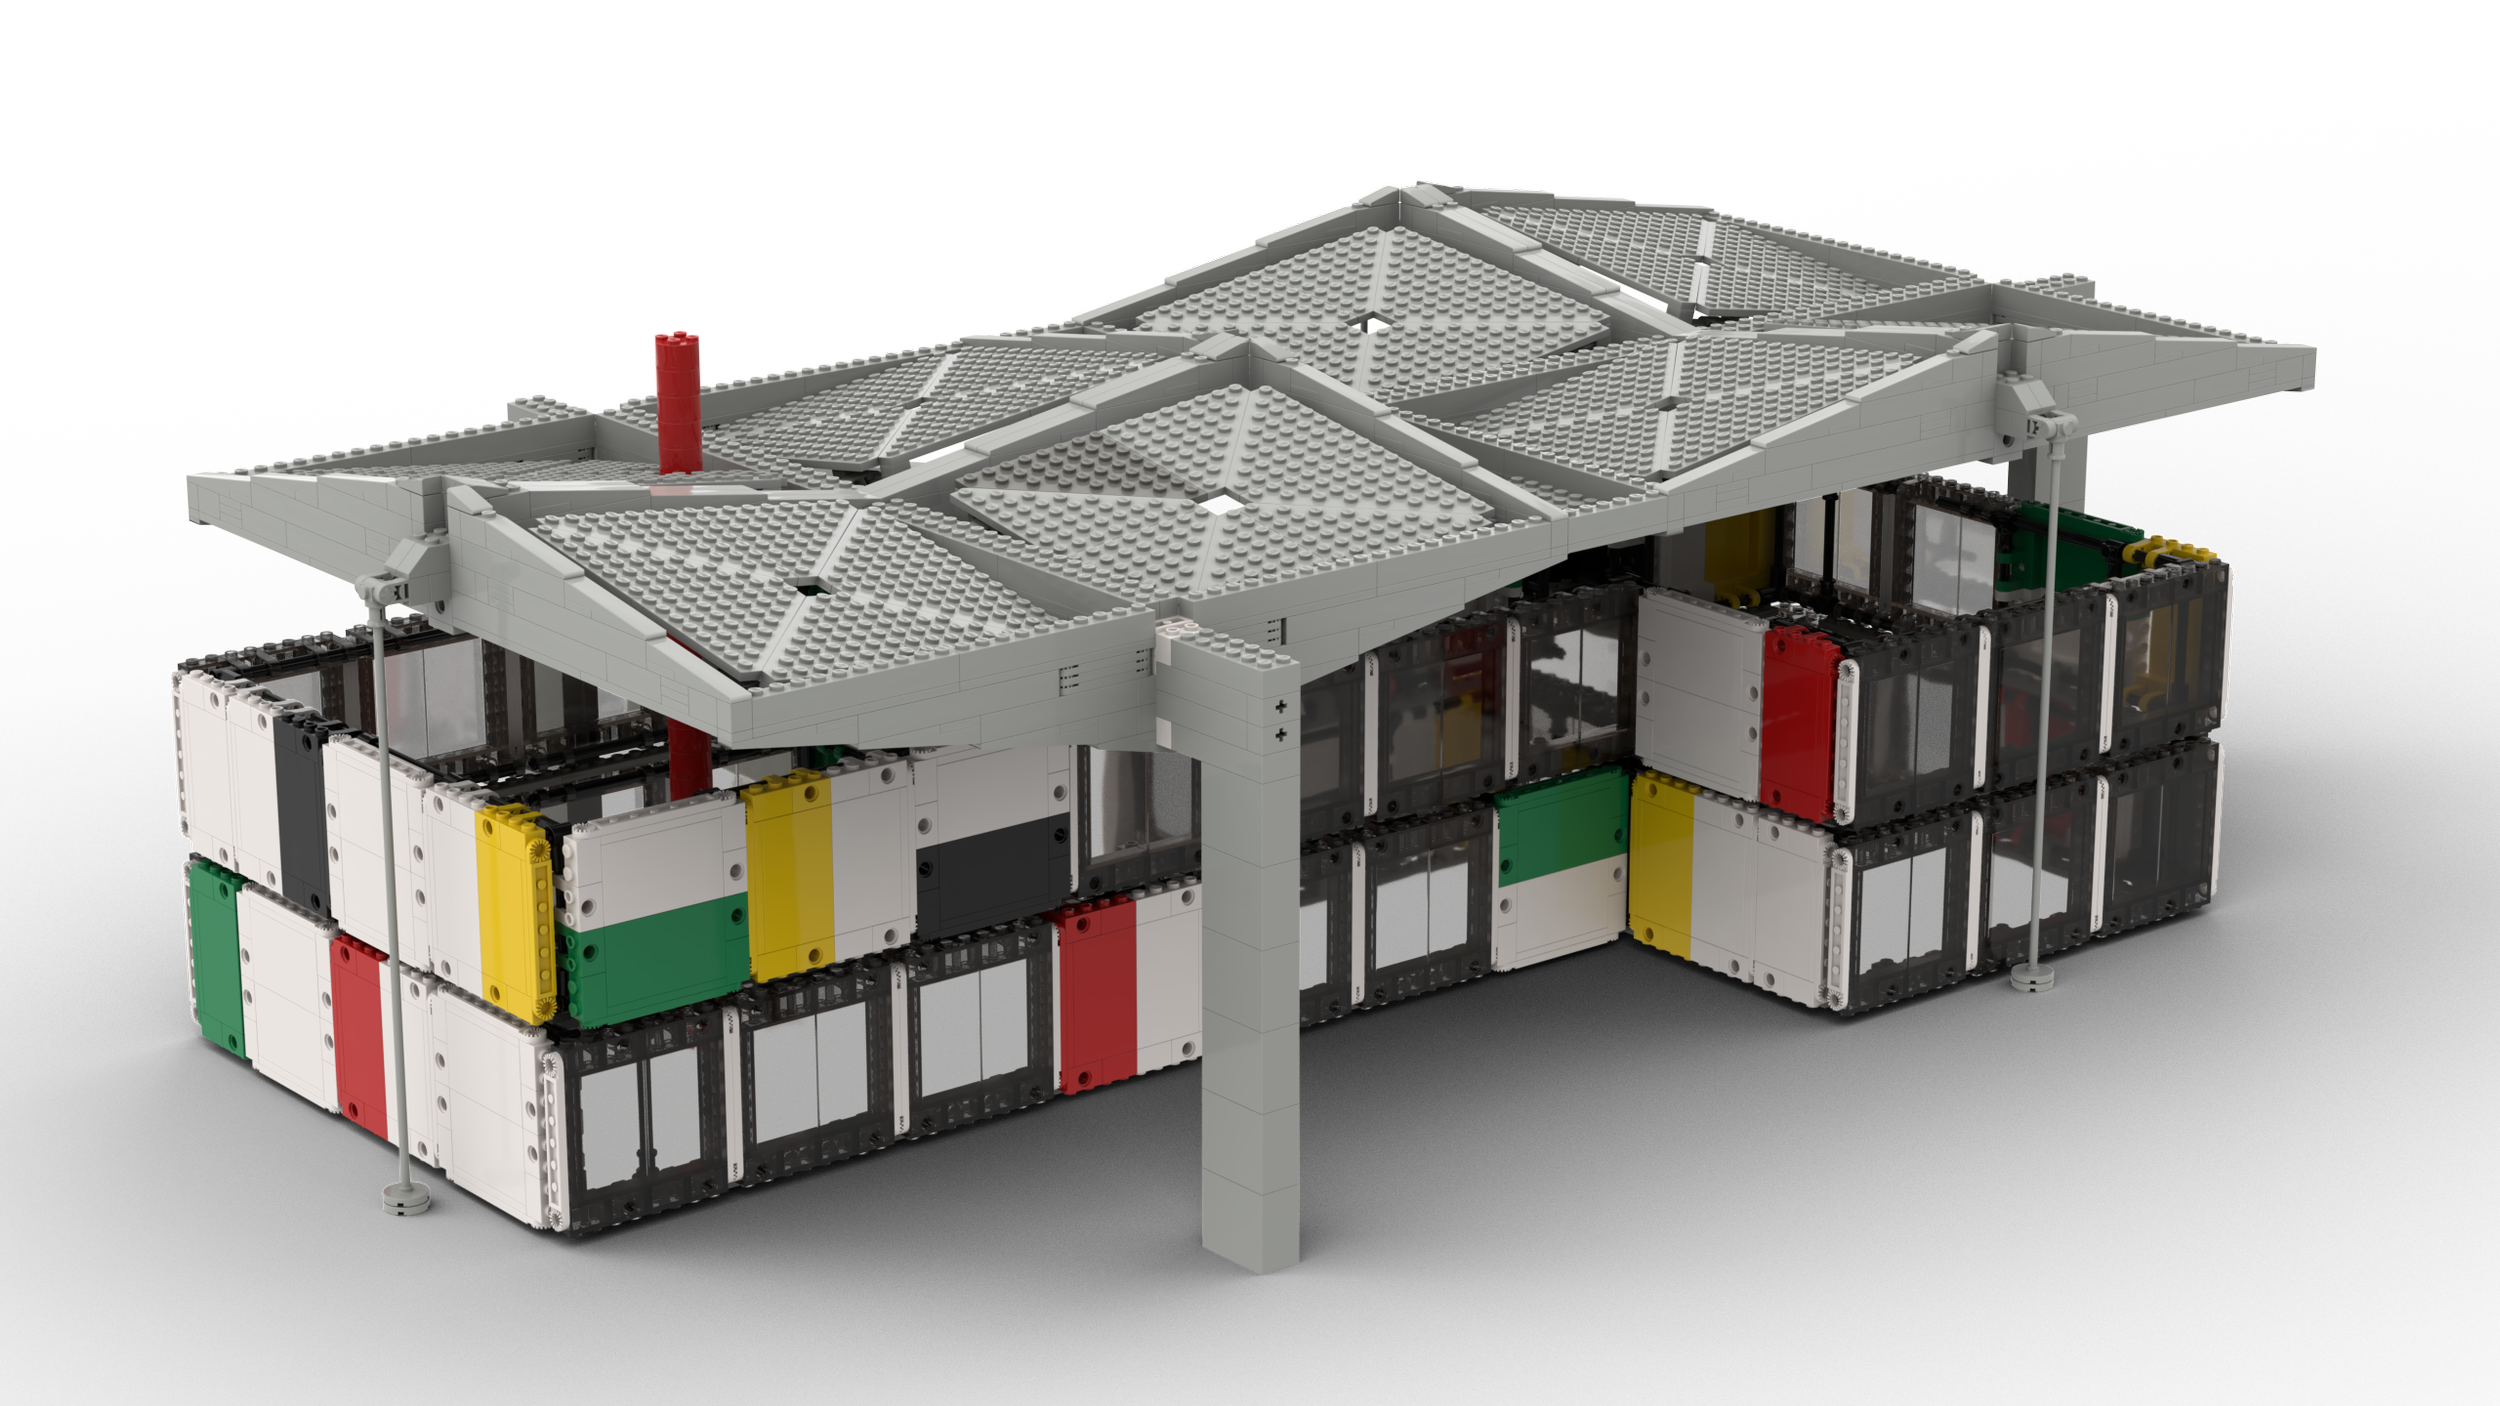
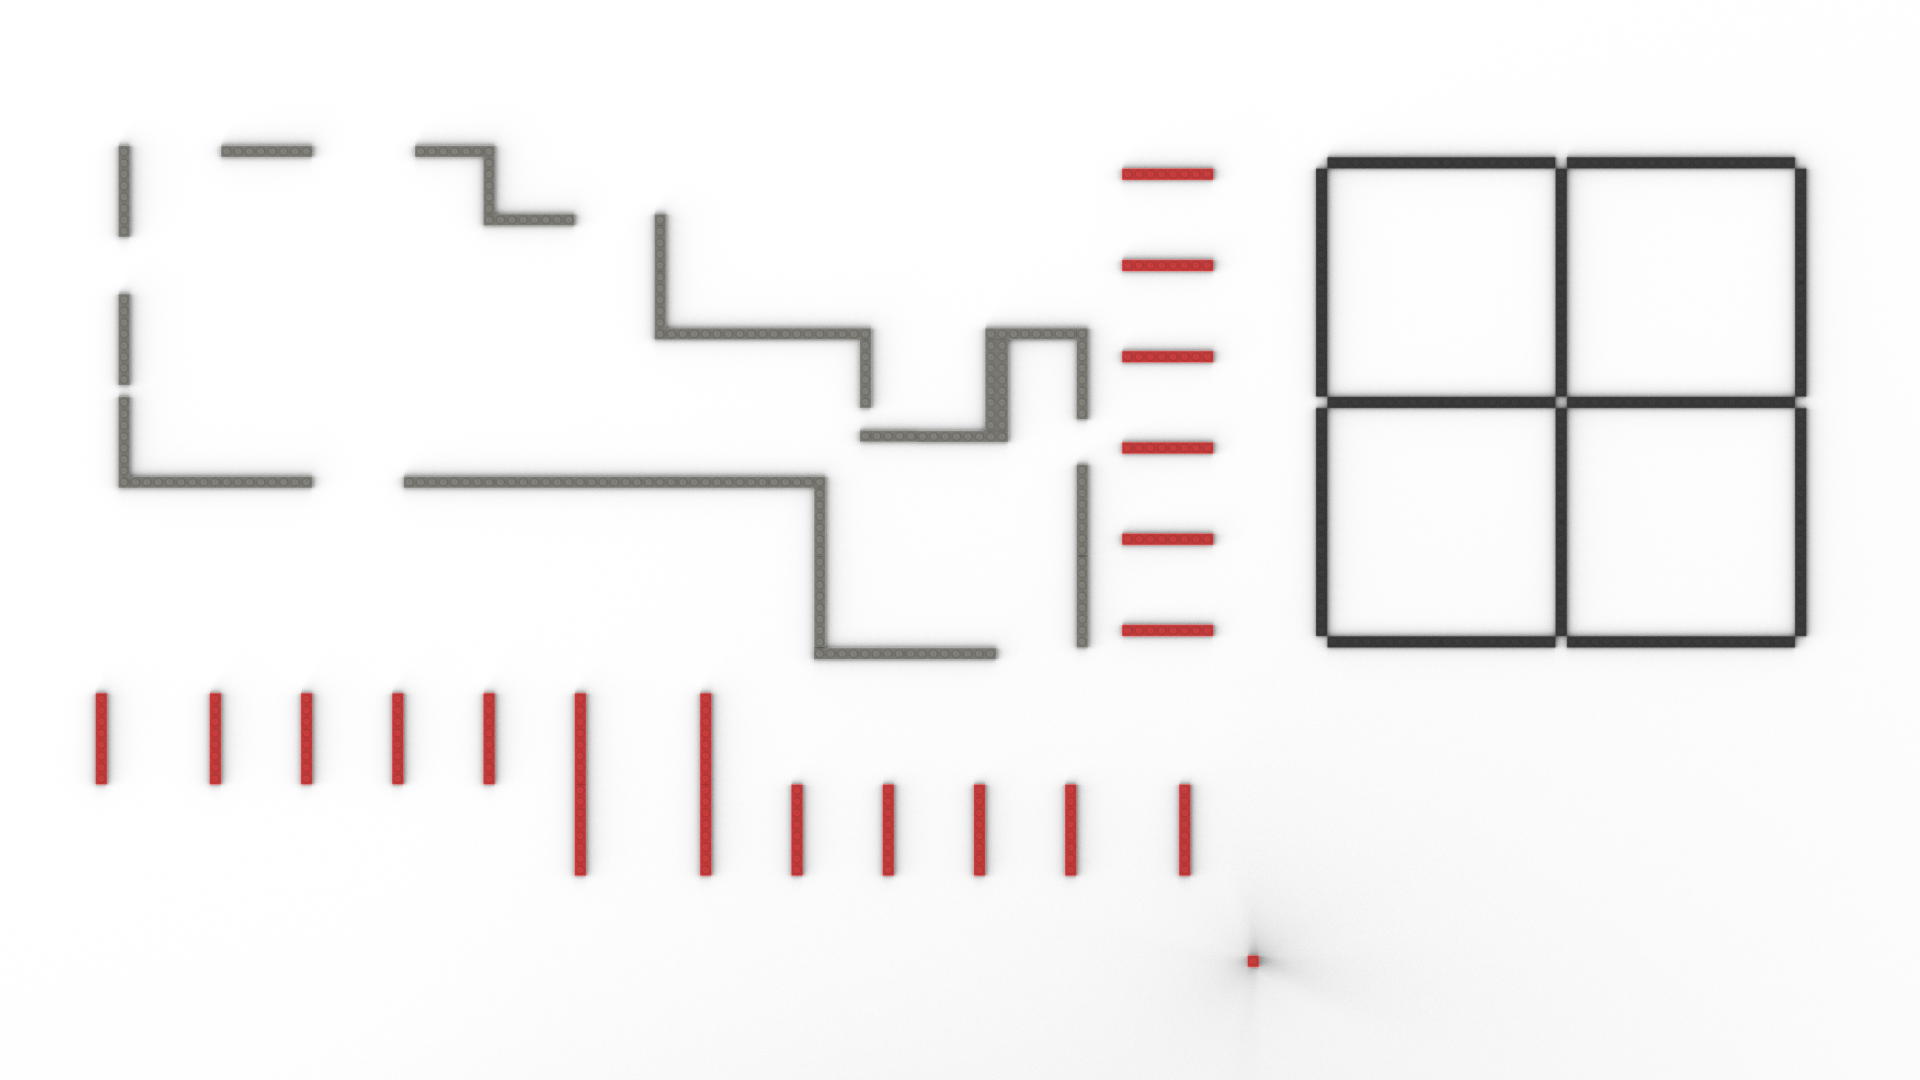
The scale was determined by the available brick in LEGO which resembled façade panel. I wanted the building panels to at least roughly reflect how the facade structures would be fixed, and thus two types of panels were created: vertical and horizontal. The structure of the building was made out of axles, clearly distinguished from the panels by means of black color.
Recently, I learned about BrickLink software and decided to try it out. I thought, what would be the best thing to construct? The idea came immediately: the Le Corbusier pavilion. Although the number of drawings for the pavilion available online, in my opinion, is very limited, I managed to find enough to define the module, main building parts, details, and dimensions.


I developed internal and external corners, adjusted the joint details of panels of different types, and voilà—two floors were done.


The next step was to come up with the roof. To be honest, I had to play a bit more with the module size, as the location of the roof had to align with the edges of the floor plans. I wanted the roof to look like a schematic and, at the same time, reflect the fixation details.
After some variations, I decided to make flexible connections with the help of ball-type brick. Rotating the ball in two directions for 315 degrees gave me the desired shape. By creating a sub model and cloning it eight times, I achieved the convex-concave roof shape by Le Corbusier.


Next was to make comparatively simple connections with the two types of columns, and the roof was assembled! I combined these two steps—floors and roof—and decided to add an external stair for a better appearance and a bit of realism. After a few manipulations, we had a LEGO model consisting of three sub models.

